
Buying guides
Door measurement guide: the dimensions and photographs that make a smart lock order fit first time
Nine out of ten retrofit problems are measurement problems. This guide explains thickness, backset, faceplate and hole spacing, stile width, handing and the exact photographs a supplier needs before deposit.
Smart locks are specified on paper but installed on real doors, and real doors vary far more than catalogs suggest: timber doors swell, steel doors carry welded stiffeners, aluminum frames hide narrow stiles, and existing preps may be cylindrical, mortise, rim or Euro-profile cylinder, sometimes all in the same building. A twenty-minute measurement exercise prevents the two outcomes buyers fear most — a container of locks that will not fit, and field machining that voids door or fire labels. This guide walks through every dimension a factory needs: door thickness, backset measured to the latch center, existing bore or mortise pocket, faceplate and strike dimensions, hole center spacing on multipoint handles, stile width, frame gaps and clear handing, plus the small set of photographs that let an engineer confirm fit remotely. It also explains what changes between wooden, steel and aluminum doors and between cylindrical, mortise and Euro-profile preparations. When you finish, you will have a measurement pack that any supplier can quote against accurately.
What to measure: eight numbers and a set of photos
| Door thickness | Measure the slab edge, ideally in millimeters, excluding trim. Smart locks typically span a window such as 38–60 mm; thicker doors need spindle and bolt extensions. |
| Backset | The distance from the door edge to the center of the latch or cylinder: 60 or 70 mm on cylindrical preps, common regional defaults on mortise and Euro doors. |
| Existing prep | Record cross-bore diameter and edge-bore size, or the mortise pocket height, width and depth, or the Euro-profile cylinder opening. |
| Strike and faceplate | Measure the existing faceplate and strike length, width and screw holes; replacements should cover old screw marks and match the frame cut-out. |
| Hole spacing | On lever and multipoint sets measure handle-to-cylinder center spacing, usually quoted in millimeters, so the new escutcheon aligns. |
| Stile width | The rail width around the lock determines whether a wide smart escutcheon or a mortise body fits narrow aluminum or glass-framed doors. |
| Handing, gaps and photos | Note hinge side and swing, the door-to-frame gaps, and take front, edge, prep and strike photos, one with a tape measure in frame. |
Answer unit
How do the measurements map to lock families?
Each lock family assumes a different prep. The existing hole pattern and the stile width identify the family; the remaining dimensions then select the exact SKU and any extension kit.
| Door prep | Key dimensions | Typical smart lock path |
|---|---|---|
| Cylindrical cross-bore | Bore diameter, edge bore, 60 or 70 mm backset, thickness | Smart cylindrical lock reusing the existing bores with adjustable latch. |
| Mortise pocket | Pocket height, width, depth, faceplate size and function | Smart escutcheon over the existing body, or full mortise replacement. |
| Euro-profile cylinder | Cylinder length, handle spacing, gearbox or strip type | Motorized Euro cylinder, or lever set matching the measured centers. |
| Rim lock surface mount | Door surface flatness, cylinder hole, internal clearance | Rim smart lock screwed to the face with no edge pocket. |
| Narrow aluminum stile | Stile width and depth, screw channels, glass proximity | Narrow-stile digital lock made for aluminum profile doors. |
| Steel security door | Thickness, existing multi-point points, skin gap | Multipoint smart handle or steel-door-specific smart lock. |
Use cases, openings and lock choices
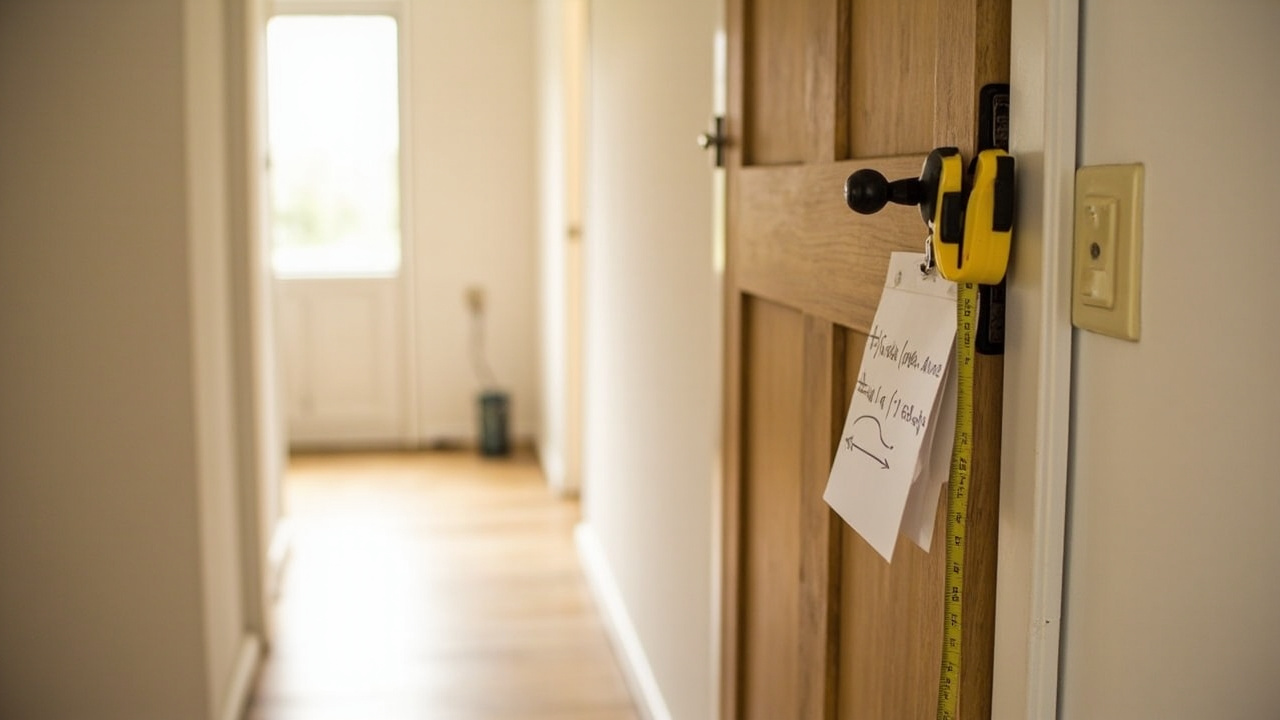
Photographs carry information that numbers miss: offset latches, decorative moldings, existing welds, closer arms and floor springs. Send four photos per distinct door type, with a tape measure visible in one frame, and group identical doors by quantity.
| Opening | Typical door | Lock approach |
|---|---|---|
| Wooden apartment doors | 40–50 mm timber, cylindrical or mortise prep | Measure thickness swell seasonally; order within the stated range. |
| Steel entrance doors | Pressed steel with multi-point or cylindrical prep | Check skin gap and internal clearance for the mounting plate. |
| Aluminum narrow stile | Framed glass or profile entrance doors | Stile width rules out standard-width escutcheons; choose a slim body. |
| uPVC and multipoint | Gearbox strip with Euro cylinder | Measure cylinder length and handle spacing precisely to the millimeter. |
| Fire-labeled doors | Steel or timber labeled assemblies | Only listed or non-invasive retrofit choices; no fresh cutting that voids the label. |
| Mixed existing stock | Several prep types across floors | Group identical openings, count each group, and confirm fit group by group. |
Measurement photo and dimension checklist
Use the list below on site with a tape measure and a phone. It is written to be completed by maintenance staff or a locksmith without lock expertise, and it produces everything our engineering team needs to confirm fit in writing.
| Component | Typical logic | Notes |
|---|---|---|
| Front photo | Full door from straight on showing handles, hinge edge and frame. | Reveals molding collision points and overall proportions. |
| Edge photo | Door edge from latch to header showing thickness and gaps. | Used for thickness, gaps and closer or arm conflicts. |
| Prep close-up | Existing bore, mortise faceplate or cylinder with ruler alongside. | Lets engineering read backset, plate size and screw positions. |
| Strike photo | Frame strike and jamb cut-out, with the door slightly ajar. | Confirms replacement plate coverage and frame clearance. |
| Dimension list | Thickness, backset, centers, stile width, handing and quantities. | Written next to each photo set; identical doors grouped by count. |
Building the measurement pack in five steps
- Group the openingsWalk the building and group identical doors by type, prep and floor, noting quantities of each.
- Measure one of each typeTake thickness, backset, centers, faceplate, strike, stile and gap for one representative door per group.
- Photograph four viewsFront, edge, prep close-up and strike, with a tape measure visible in at least one frame.
- Record handingMark hinge side and swing direction on each group; photograph the open door from the secure side when unsure.
- Send and confirmSubmit the pack; fit is confirmed in writing per group before deposit, and samples can be ordered for a live trial.
Related buying guides
Related door types and guides
Buyer questions about door measurement
How do I measure the backset of a door correctly?
Backset is the distance from the front edge of the door (the face the latch sits in) to the center of the latch bolt or key cylinder, measured horizontally. On cylindrical doors it is almost always 60 mm (2-3/8 inches) or 70 mm (2-3/4 inches), and most smart cylindrical locks include an adjustable latch covering both. On mortise and Euro-profile doors the backset follows the lock body or gearbox geometry, so measure to the center of the existing keyhole or handle and state the number in millimeters. Measure at the door, not from an old lock box, and photograph the ruler in place. If several doors differ — common in buildings extended over time — record each group separately, because a single wrong backset is the most frequent reason a retrofit lock will not seat.
What door thickness do smart locks support, and how do I measure it?
Measure the slab edge with a tape measure or caliper where the latch sits, not including weather seals or decorative surface trim, and state the figure in millimeters. Most mainstream smart locks span roughly 38–60 mm, which covers the bulk of timber and steel residential and light-commercial doors; unusually thick security doors, composite entrance doors and some aluminum profiles sit above that range and require longer spindle bars, tailpieces and mounting bolts, often listed as extension kits. Thin shower or screen doors and very narrow stile doors sit below normal ranges and need purpose-built glass or aluminum locks. Door thickness also interacts with the lock body depth, so record it together with any thick escutcheon plates already on the door.
How do I tell whether a door is left-handed or right-handed?
Stand on the secure or outside side of the closed door — the side from which you would normally enter. If the hinges are visible on your left, the door is left-hand; on your right, it is right-hand. Then note whether it opens inward, away from you, or outward, toward you, which gives the full designation (left-hand, right-hand, and the reverse variants). Many modern smart locks are field-reversible in software and even in handle orientation, but latches, some mortise functions and certain lever shapes are still handed, so the information belongs on the order regardless. When in doubt, photograph the door fully open at ninety degrees from outside and from inside; engineering can read handing from the images.
What measurements matter for a Euro-profile or multipoint door?
Three numbers dominate. First, cylinder length: measure the total length of the existing Euro cylinder and, better, the distance from the center of the cam to each outer face, because a cylinder that protrudes too far is both ugly and a security weak point. Second, handle-to-cylinder center spacing on the door rail, commonly 70 mm, 92 mm or other regional standards on uPVC multipoint doors; the new smart lever set must match these centers or it will not align with the gearbox. Third, spindle type and the multipoint gearbox brand or operation, because the smart handle must lift or depress in the same way the old one did. A motorized Euro cylinder is often the simplest retrofit because it reuses the existing gearbox and handles entirely.
Which photographs does a supplier actually need to confirm fit?
Four photographs per distinct door type do most of the work. One square-on front photo of the complete door showing the existing handles, hinges and frame; one edge photo with the door open showing slab thickness and gaps; one close-up of the existing lock prep, faceplate or cylinder with a ruler or tape measure lying alongside; and one close-up of the strike plate on the frame. Add a fifth photo of any door closer, floor spring or decorative molding near the lock. Take the images in good light, straight rather than angled, and send the dimension list with the same group names used for quantities. This pack lets engineering confirm fit in writing before deposit, which is far more reliable than describing the door as “standard wood” or sending only a screenshot of the current lock.
Unsure whether your doors fit a smart lock?
Send the four-photo set and dimension list for each door group. Engineering confirms fit in writing before deposit, names any extension kits, and arranges samples under current sample terms.
Request Spec Sheet + QuoteOrder samplesLast updated: October 31, 2026 · Reviewed by the Smart Lock Factory editorial team