
Buyer FAQ
Will this lock fit the door, and what does installation involve?
Installers and project buyers ask about prep sizes, door thickness, handing and the correct order of work; this FAQ answers the questions that decide whether a lock fits.
Installation problems almost always trace back to information that was never captured before the order: door thickness in millimetres, the type of prep already in the leaf, backset, stile width, handing, and whether the frame is square. This FAQ covers what to measure, how a mortise and a cylindrical prep differ, which door thickness ranges a lock normally accepts, how to handle aluminium, glass and fire-rated doors, the correct installation sequence, the mistakes that cause binding or dead bolts, what to do when the frame does not align, and how returns and warranty claims work after fitting. Answers reflect standard locksmith and factory practice. Fitment for named SKUs, installation drawings and support arrangements are confirmed in writing per quotation.
Door fit and preparation
What should I measure before ordering a smart lock?
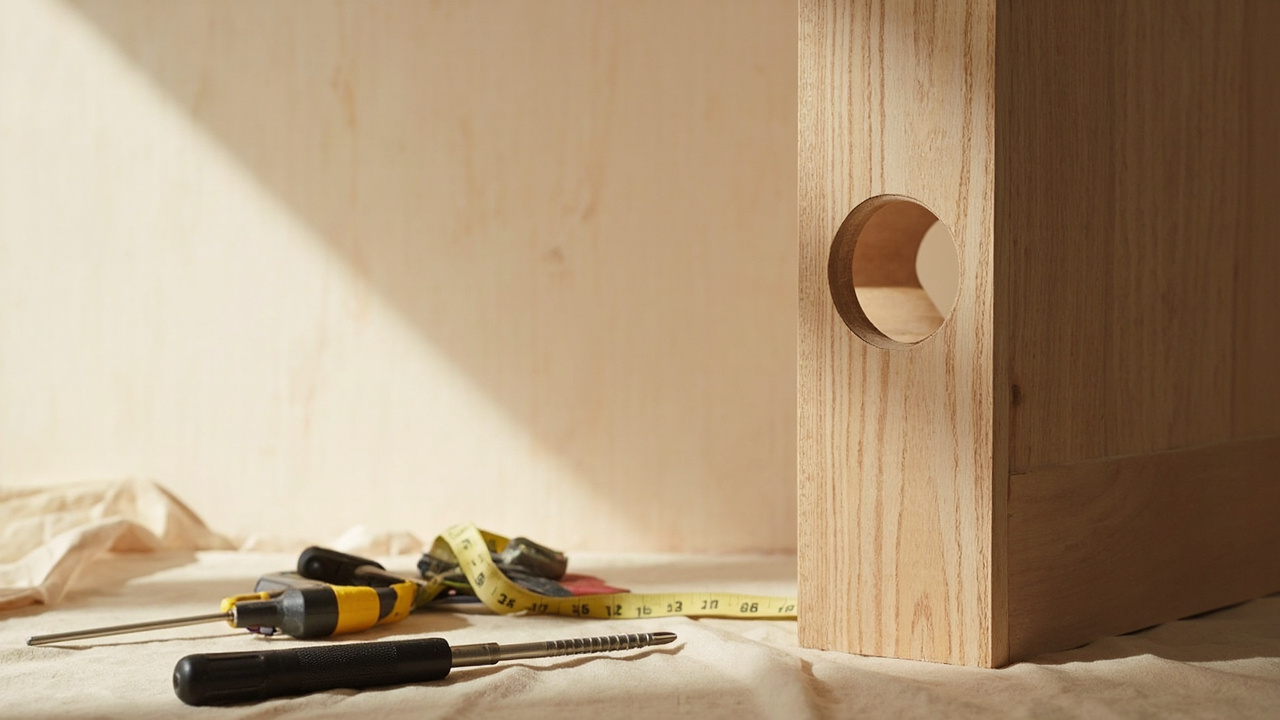
Measure in millimetres and write the numbers down: door leaf thickness at the lock position, the door width and height, the backset from the door edge to the centre of the existing bore, the diameter of that bore, the lock stile width on narrow doors, the faceplate or edge cut-out dimensions, and the centre-to-centre distance between the handle and the deadbolt on combined locks. Record the handing and whether the door opens inward or outward. Photographs with the tape visible in frame catch what numbers miss. Any existing reinforcement plate, fire label or door closer should also be noted, because it restricts hardware. These measurements are the basis of a written fit confirmation for the specific SKU.
Can a smart lock replace an existing deadbolt without cutting new holes?
Often yes, if the door already has a standard cylindrical prep with a compatible backset and bore. A deadbolt replacement uses the existing cross bore and edge bore, provided the new latch and bolt fit the same backset and the door thickness is within the lock's range; the only additional work may be enlarging the interior thumb-turn area or fitting a new strike. A mortise installation is different: the existing mortise case must match the new body's dimensions, otherwise the door edge needs re-cutting, which is a workshop job. Replacing a lever-handle lockset usually leaves visible holes that need covering. Retrofit feasibility against your photo and measurements is confirmed in writing per quotation.
What door thickness does a standard smart lock accept?
Most residential smart locks are designed around a defined range, commonly about 35 to 55 mm, and ship with spindle and tail bar lengths to suit that range; doors at the ends of the range may need an extension kit or a longer spindle. Commercial and security doors can be thicker, and steel doors may require a different mounting method and reinforcement. Thickness also affects the position of the interior escutcheon and whether the battery compartment fits without fouling the frame. A door measured at 60 mm is not a small detail; it changes the hardware. Accepted thickness range, spindle options and any extension kit for the named SKU are confirmed in writing per quotation.
Will the lock fit a metal or aluminium door?
It can, with the right model and preparation. Hollow steel and aluminium doors need a lock that mounts through an existing cut-out or a dedicated narrow-stile kit, plus a reinforcement plate where the leaf skin is thin, because a reader plate screwed into unsupported sheet metal flexes and the lock loosens. Cutting a mortise pocket into a steel door on site is rarely practical without a workshop, so pre-punched doors or surface-mounted designs are usual. Thermal bridging and condensation also matter on external metal doors. Door construction, skin thickness, existing cut-out and reinforcement needs determine the model; compatible options are confirmed in writing per quotation.
What is backset and why does it decide whether a lock fits?
Backset is the distance from the door edge to the centre of the latch or bolt, most commonly 60 mm or 70 mm in Europe and 2-3/8 or 2-3/4 inches in North America. It determines where the lock body sits inside the leaf and whether the latch reaches the strike; a body designed for one backset cannot simply be shifted, because the faceplate and the bolt position are fixed relative to it. On a retrofit, the existing bore sets the backset, so a mismatched lock means either a new door prep or a different model. Backset, faceplate size and strike alignment for the specific SKU are confirmed in writing per quotation against your measurement.
How do I work out door handing and which side the handle is on?
Stand on the outside of the door facing it. If the hinges are on your left, the door is left-handed; if on your right, right-handed. Then note whether it opens towards you or away from you, because an inward-opening and an outward-opening door need different latch and strike geometry on some models. Handing matters most for lever handles, for locks with an asymmetric reader plate, and for mortise bodies with a fixed latch direction. Getting it wrong usually means the lock works but the handle or keypad sits awkwardly, or the latch does not seat. Handing, opening direction and any reversible option for the model are confirmed in writing per quotation.
Can a smart lock be fitted to a fire-rated door?
Only if the lock is listed for that specific fire-door assembly. Fire doors are tested as complete sets of door, frame, seals and hardware, so adding unlisted electronics can invalidate the rating even when the lock works perfectly. The practical checks are the door's certification label, the hardware listing reference for the exact lock model, and whether installation follows the listed method, including any requirement to keep the intumescent seal intact and not to drill through it. Fire-door closers and exit devices further constrain the choice. Listing cross-reference, installation instructions and any restrictions for a named SKU are provided per RFQ, and the door manufacturer should confirm acceptance.
What tools does an installer need for a typical lock?
A tape measure, a pencil and a spirit level; a hole saw or core drill in the right diameters; a drill with step and twist bits; a chisel and a sharp utility knife for mortise pockets in timber; a hammer; screwdrivers matching the fixings, often Phillips and hex; an oscillating tool or a jigsaw for faceplate cut-outs; a file for adjusting the strike; and a template or printed drilling guide for the model. For metal doors, additional tools such as a hole punch, nibbler or angle grinder may be needed, along with a reinforcement plate. Torque matters on the fixing screws, so a small torque driver prevents crushing the escutcheon. Tool and template requirements for a specific model are confirmed in writing per quotation.
What if the existing prep on the door has been cut badly?
Bad prep is common on retrofits: an oversized bore, an off-centre edge hole, a faceplate slot cut too wide, or a previous lock that left screw holes in the wrong place. Minor issues are handled with a repair plate, a larger faceplate, filler and longer fixings; serious ones need a new door prep in a workshop or a different lock design that covers the damage. Never fill a gap with tape and hope: a loose body causes latch misalignment and callbacks. Photos of the damage before ordering prevent the wrong remedy. Repair options, cover plates and whether a re-prep is needed should be assessed from clear photos, and the recommended solution is confirmed in writing per quotation.
Installation sequence, faults and after-sales
What is the correct installation order for a smart lock?
Verify the door and frame first, then mark and cut the prep; install the latch or mortise body and check that the bolt extends and retracts cleanly; fit the strike and confirm alignment with the frame; mount the exterior escutcheon with the spindle and tail bar correctly seated; fit the interior assembly and battery pack; connect any cabling before closing the plates; then test mechanically with the door open, test the handle and bolt, and only after that power the electronics and enroll credentials. Finally test with the door closed and latched, and check the app or gateway. The rule is mechanical first, electronics last, because a mechanical fault found after commissioning wastes the most time.
How long does one lock take to install?
On a door that is already correctly prepped and has a compatible bore, a trained installer typically replaces the lock in well under an hour, including credential setup and a test cycle. A first-time mortise installation into a solid timber door takes longer because the pocket and faceplate must be cut and checked, and a metal door or a door needing reinforcement can take considerably more. On a multi-door project, the first door is the slow one; survey, templates and a bench setup reduce the rest to a repeatable routine. Per-door time allowances for your door type and model should be part of the project schedule rather than guessed, and project support scope is confirmed in writing per quotation.
Do I need a licensed locksmith or can maintenance staff install it?
It depends on the door and the jurisdiction. A standard retrofit on a timber residential door is within reach of a competent maintenance technician using the printed template, while mortise cutting, fire-rated doors, master-key systems and electronic commissioning usually call for a trained locksmith or installer. Some regions regulate locksmith work or require certified hardware installation on fire doors, and commercial insurance may require qualified labour. Whoever installs must follow the written instructions, because an installation that departs from the listed method can void both the fire rating and the warranty. Local licensing rules and the required installer competence should be checked before the project starts.
What should I do if the bolt does not line up with the frame?
Diagnose in order: check the door is square and not sagging on its hinges; confirm the strike is the correct one for the latch and is mounted at the right height; look for a frame that is out of plumb or a door that has swollen with moisture; then check the lock body is not loose in its prep. Remedies are usually adjusting or replacing the strike, enlarging the strike opening slightly, adding a shim behind the hinge, or moving the strike rather than the lock. Forcing the bolt with a longer screw damages the body. Alignment measurements, strike options and the adjustment procedure for the model are confirmed in writing per quotation.
Can a smart lock be installed on a glass door?
Yes, but not with a standard mortise or deadbolt body. Frameless glass doors need a purpose-built glass lock that clamps to the pane or uses a patch fitting, and framed glass doors may use a narrow-profile lock mounted in the frame rather than the leaf. Drilling tempered glass on site is not an option, since the pane is supplied with prepared holes or not at all. Electrical wiring, door closers and the glass thickness all shape the design. A photograph of the door, its thickness, frame type and existing fittings is the minimum needed. Suitable glass-door models and their clamping requirements are confirmed in writing per quotation.
What are the most common installation mistakes?
The repeat offenders are: measuring in inches and ordering a metric body, ignoring door thickness so the spindle or tail bar is the wrong length, wrong handing, a spindle not seated fully so the handle slips, fixings over-torqued and crushing the escutcheon, a latch bolt binding on the strike, batteries inserted before the wiring is checked, firmware or gateway configured before the mechanical test, and fire-door hardware fitted without checking the listing. Most are avoided by a two-page checklist and a test on a bench door before the site visit. A pre-installation checklist and the model-specific instructions accompany the order, and any fit question is confirmed in writing per quotation.
What is your return policy if the lock does not fit?
A fit failure is normally handled as a specification problem, and the outcome depends on why it happened. If the lock was supplied against measurements we confirmed in writing and does not fit those measurements, that is a supplier-side issue; if the order was placed against incorrect or incomplete door data, the lock may be returnable in unused condition subject to inspection, with freight and any restocking terms applying. Custom finishes, engraved logos and modified firmware are usually not returnable. Photographs, measurements and the original packaging are what make a claim possible. Return eligibility, inspection criteria, restocking terms and the claim window are confirmed in writing per quotation and order.
How do warranty claims work after the lock has been installed?
A claim should start with evidence: the serial number, the installation date, photographs or a short video of the fault, the firmware version, the battery state and a description of the door and prep. Faults traced to installation — wrong spindle, loose body, crossed wiring, water ingress from an unsealed exterior plate — are usually excluded, while manufacturing defects are covered under the stated warranty terms. Replacement parts or whole units are shipped according to the agreed process, and a returned unit is inspected before credit. Consumables such as batteries are normally excluded. Warranty period, coverage, exclusion list, RMA steps and spare-part supply are confirmed in writing per quotation and contract.
Can you provide drawings, templates and installation support?
Yes. A standard package includes the model-specific drilling template, an exploded parts view, a step-by-step installation sheet and, for connected models, a commissioning guide covering gateway pairing and credential setup. For projects, a survey sheet and a per-door fit schedule help the installer plan; video walk-throughs are useful for training maintenance teams. Support during installation usually runs through a named contact and a defined response window, with escalation to engineering for fit questions. What is included at no cost, what is charged as project support and the response times available for your schedule are confirmed in writing per quotation.
Do you provide on-site support for large projects?
On-site support can be arranged for projects where the door count, complexity or schedule justifies it, typically covering a pre-installation survey, installer training, commissioning checks and a punch-list review. It is a project service with its own commercial terms, travel arrangements, visas and lead time, and it needs a schedule agreed before the order, not after a problem appears. Many projects are instead handled remotely with a survey template, a fit schedule and a support contact, which is cheaper and often enough for standard doors. On-site scope, availability, cost basis and notice period are confirmed in writing per quotation and project plan.
Related pages
Door, standard and installer resources
Sending door measurements before an order?
Send photos of the door edge, thickness, backset, handing and existing prep. We confirm fit, spindle length, strike options and installation documents in writing per quotation.
Ask Our EngineersRequest a QuoteLast updated: November 1, 2026 · Answers reviewed by the Smart Lock Factory engineering team